

Ethernet Guide | Extension Module v2
Extension Module v2 includes both a 100M and a 1000M Ethernet card in the box. Install one card during hardware setup — you do not buy separate network versions.
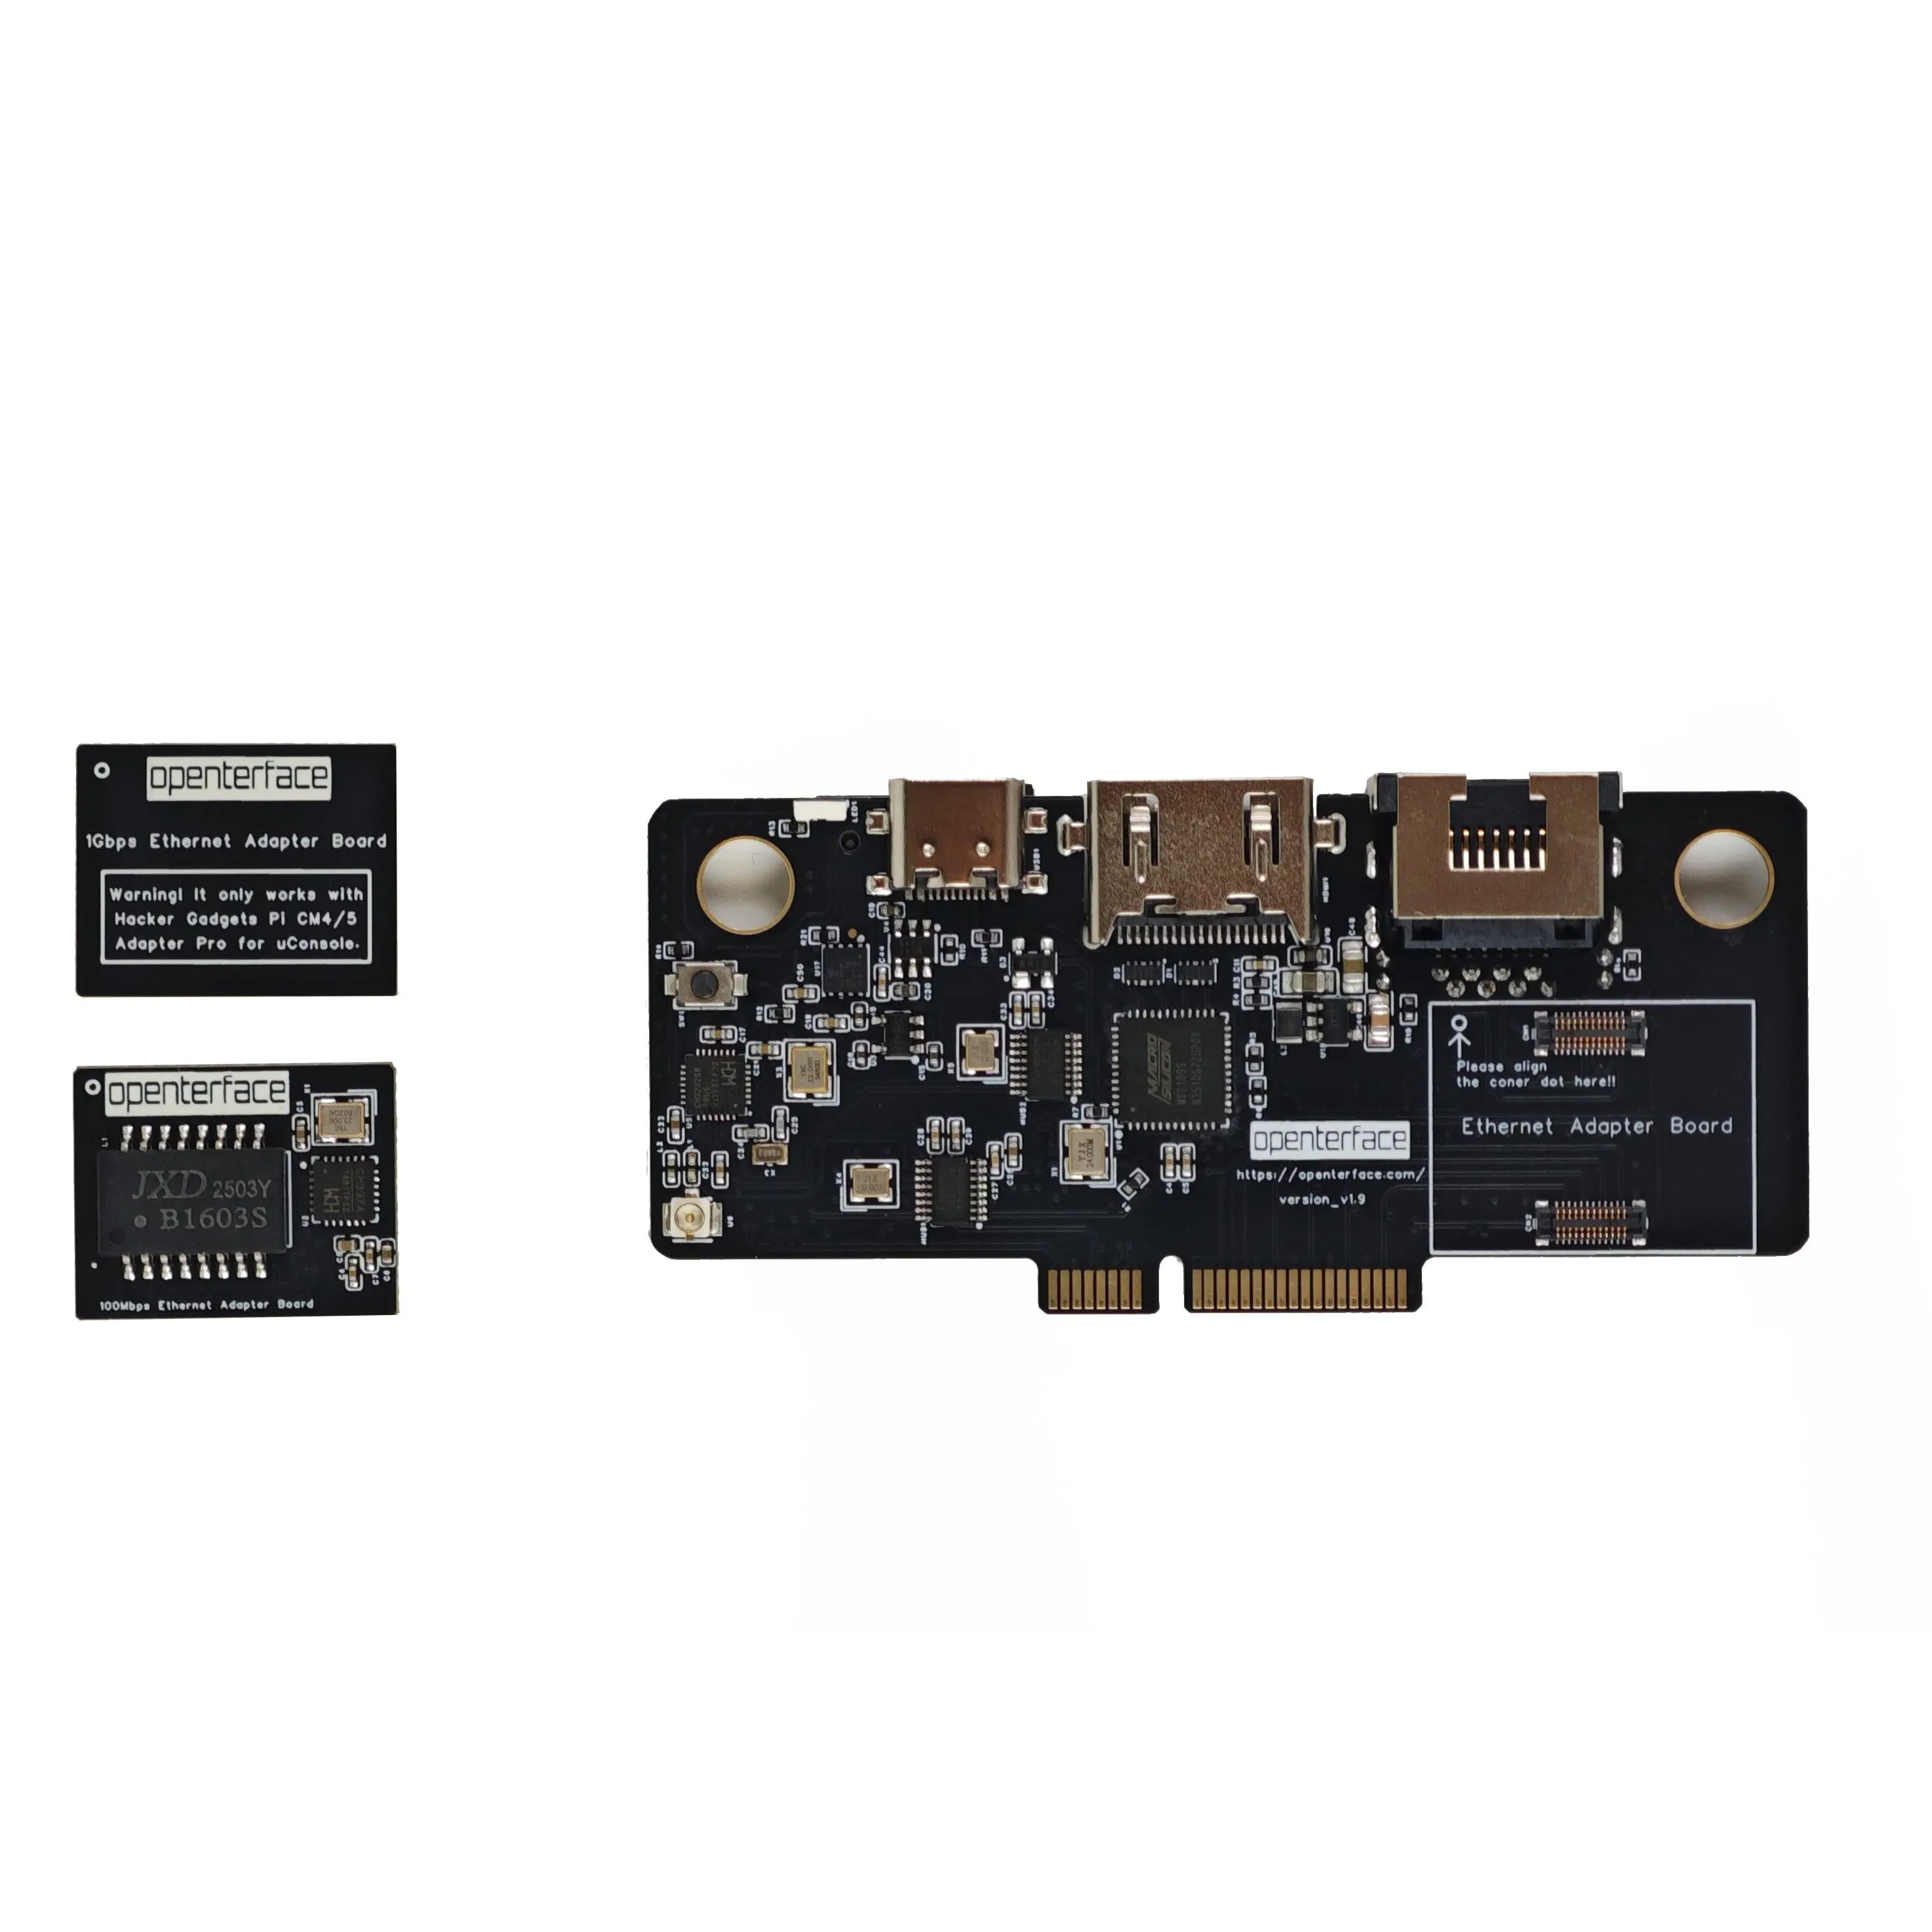
Which card should I use?
| Card | Compatibility | Best for |
|---|---|---|
| 100M Ethernet | All uConsole base boards | Universal use, SSH, web UI, log capture |
| 1000M Ethernet | Requires HackerGadgets uConsole Upgrade Kit | Gigabit networking, faster transfers |
Purchase options & Upgrade Kit
| Option | Ethernet capability |
|---|---|
| Extension v2 Only | 100M ready out of the box; 1000M card included but needs Upgrade Kit for gigabit |
| Extension v2 + Upgrade Kit Bundle | Gigabit-ready with included Upgrade Kit |
Full comparison: Purchase Options
Learn more about the Upgrade Kit from HackerGadgets (linked from our TechxArtisan Shop listing).
Installation
- Complete Hardware Installation steps 1–2 (power off, remove existing module).
- Seat your chosen Ethernet card on Extension Module v2 per the module design.
- Install the main board in the expansion slot and secure screws.
- Connect an Ethernet cable to your target device or network.
Usage scenarios
- SSH into headless servers while viewing them over KVM
- Web management for routers, switches, and appliances
- Log capture and network maintenance in the field
- Combined KVM + network workflow without extra adapters