

Connect to Target Device | Extension Module v2
Connection overview
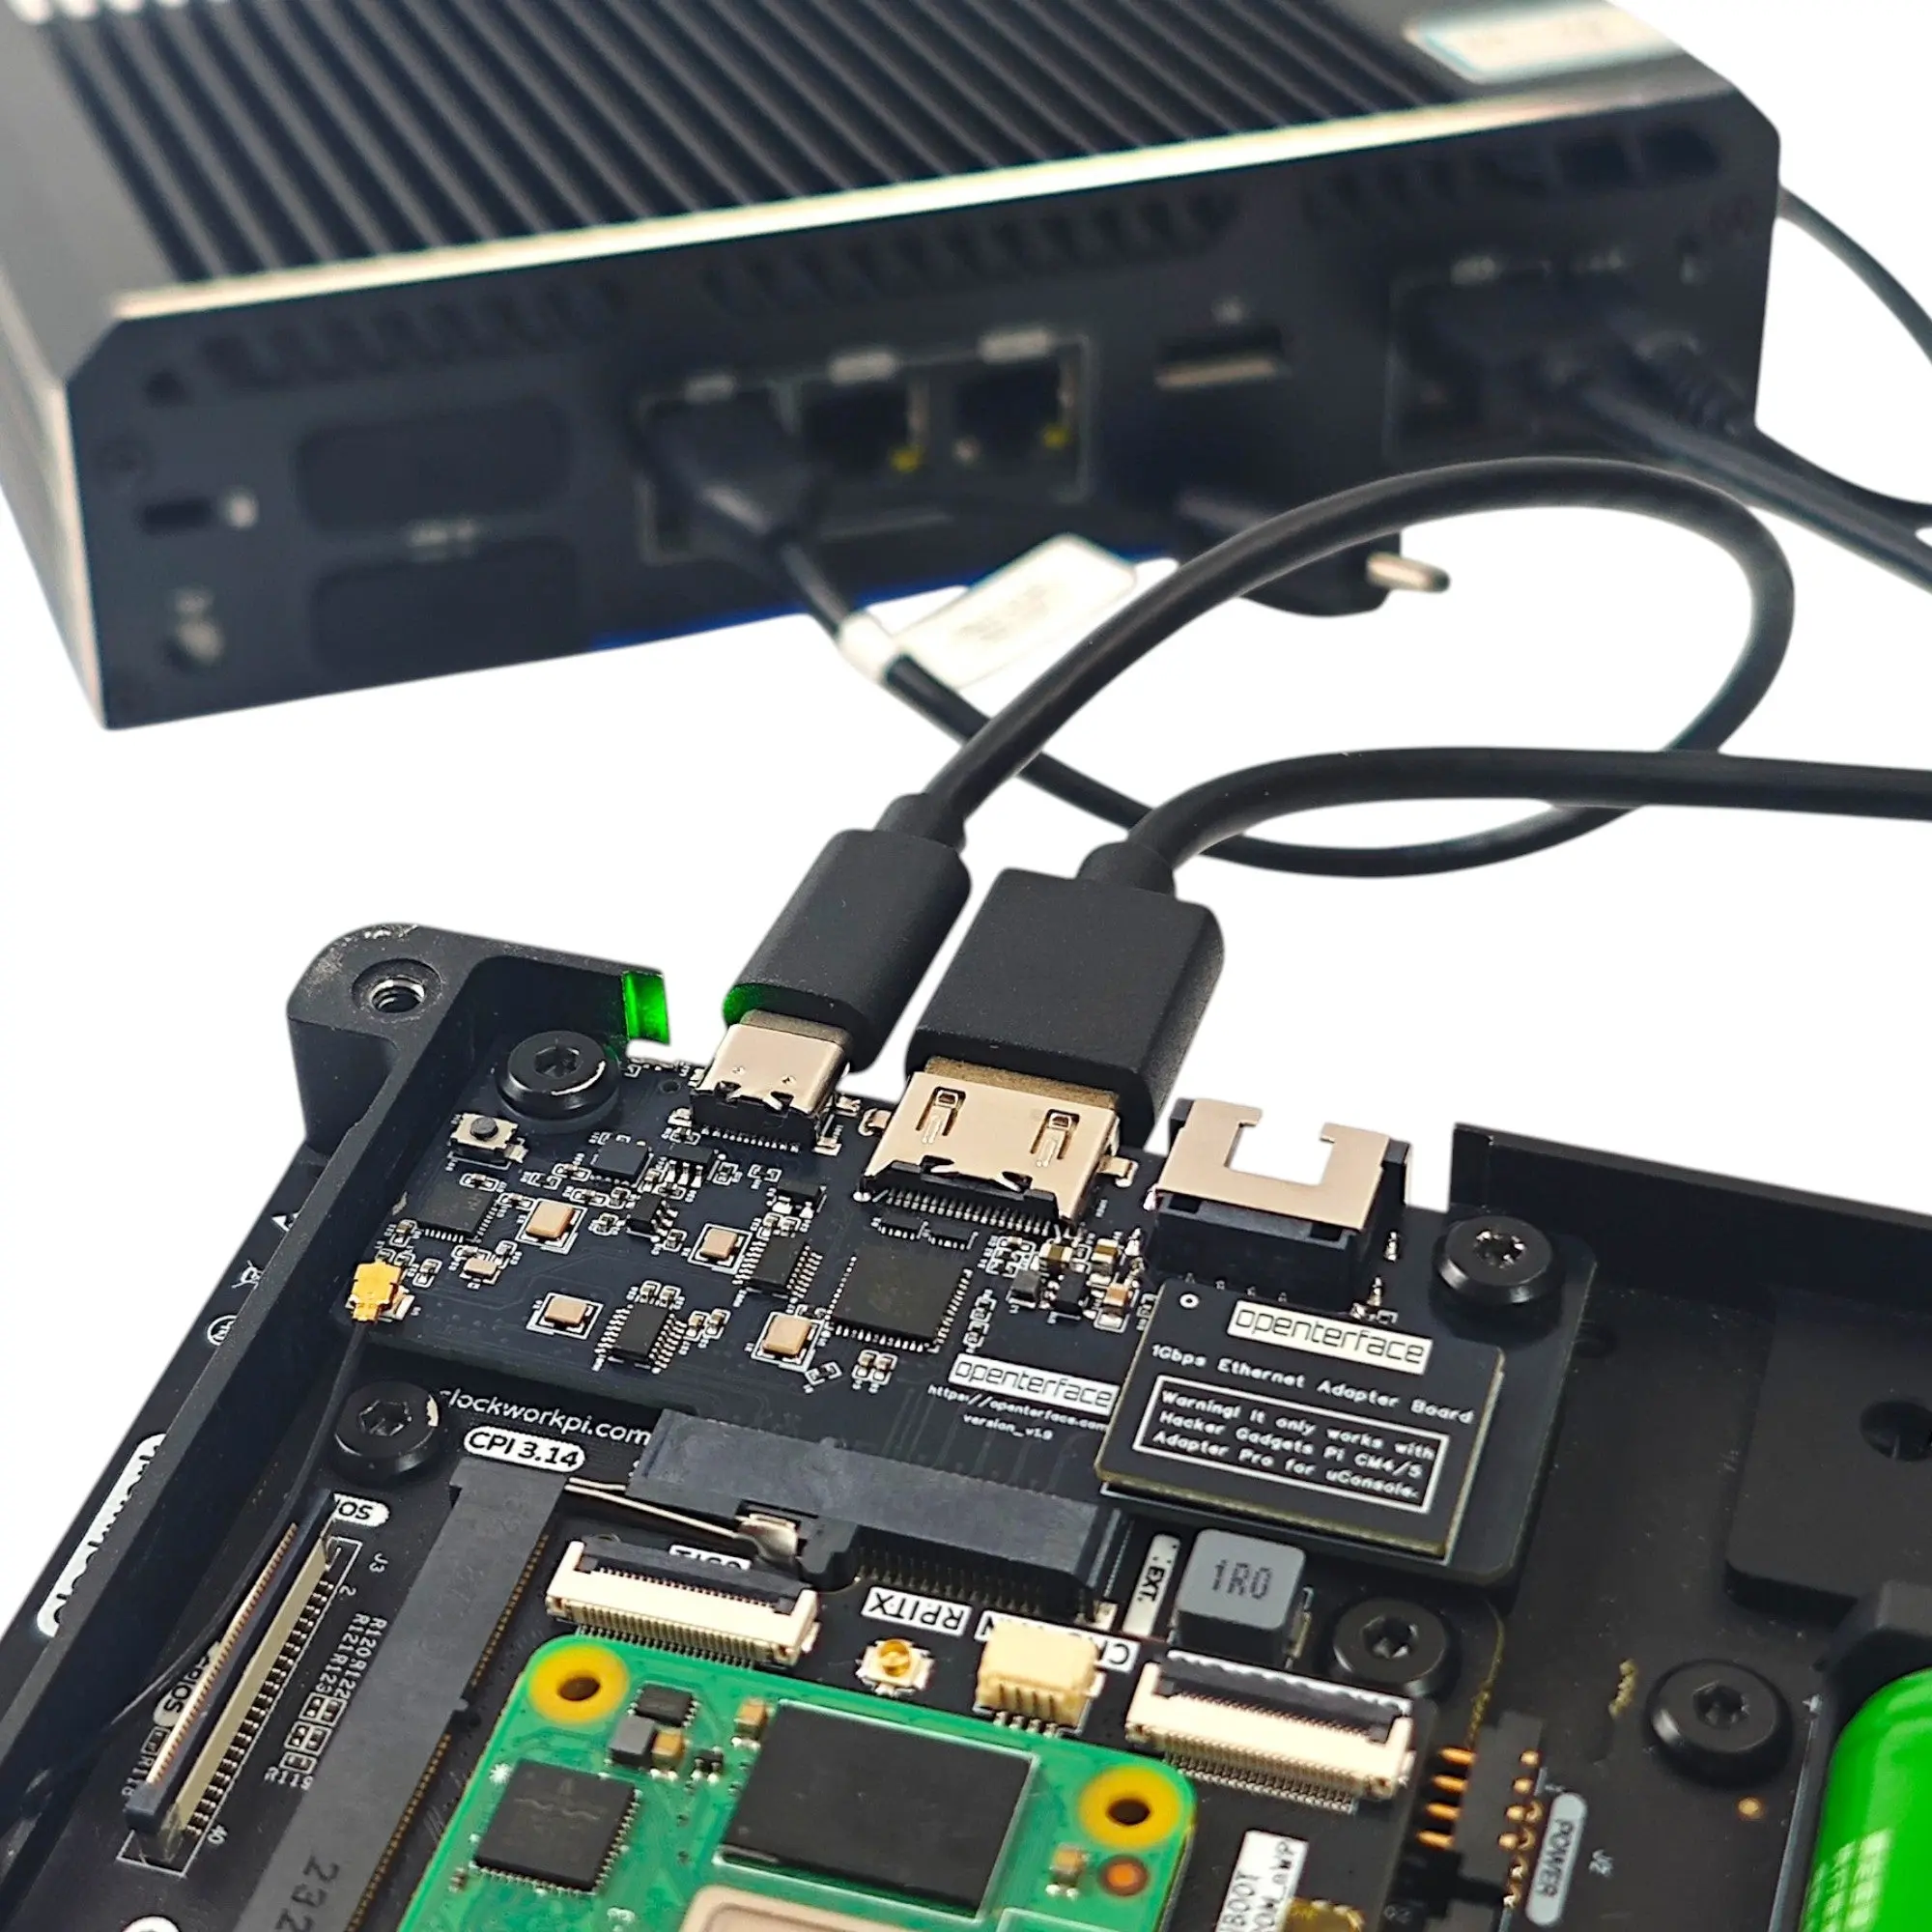
Extension Module v2 connects to your target through HDMI (video/audio) and USB (keyboard/mouse emulation). Optionally use Ethernet for SSH, web management, or log capture while KVM handles display and input.
Prerequisites
- Hardware Installation — module seated in expansion slot
- Software Setup — Openterface QT installed on uConsole
- Ethernet card chosen (if using network features)
Connection steps
USB control (required for KVM)
Connect the extension board's Type-C port to the target device's USB port. This emulates keyboard and mouse (USB HID).
The target device does not need drivers or additional software for HID control.
Video input (required for KVM)
Connect the target's HDMI output to the extension module's HDMI input:
- Standard HDMI cable for HDMI outputs
- VGA-to-HDMI converter for VGA (ensure converter USB power is connected)
- Other adapters for DVI, DisplayPort, Micro HDMI as needed
Ethernet (optional — network debug)
If you installed a network card:
- Connect an Ethernet cable from the card to your target device or network switch
- Use the uConsole for SSH, web UI, or log capture alongside KVM
- See Ethernet Guide for 100M vs 1000M setup
SD card (optional — imaging & files)
Insert a microSD card into the module slot. Use the host app to switch access between uConsole and target. See SD Card Guide.
USB 2.0 shared switching
The host app can switch a shared USB 2.0 port between the uConsole and the target — useful for flash drives and maintenance workflows without unplugging cables.
Testing the connection
- Power on the uConsole and boot the target device
- Launch Openterface QT
- Confirm HDMI video appears on the uConsole screen
- Test keyboard, trackball, and audio passthrough
- If using SD or USB switching, test mount/switch in the host app