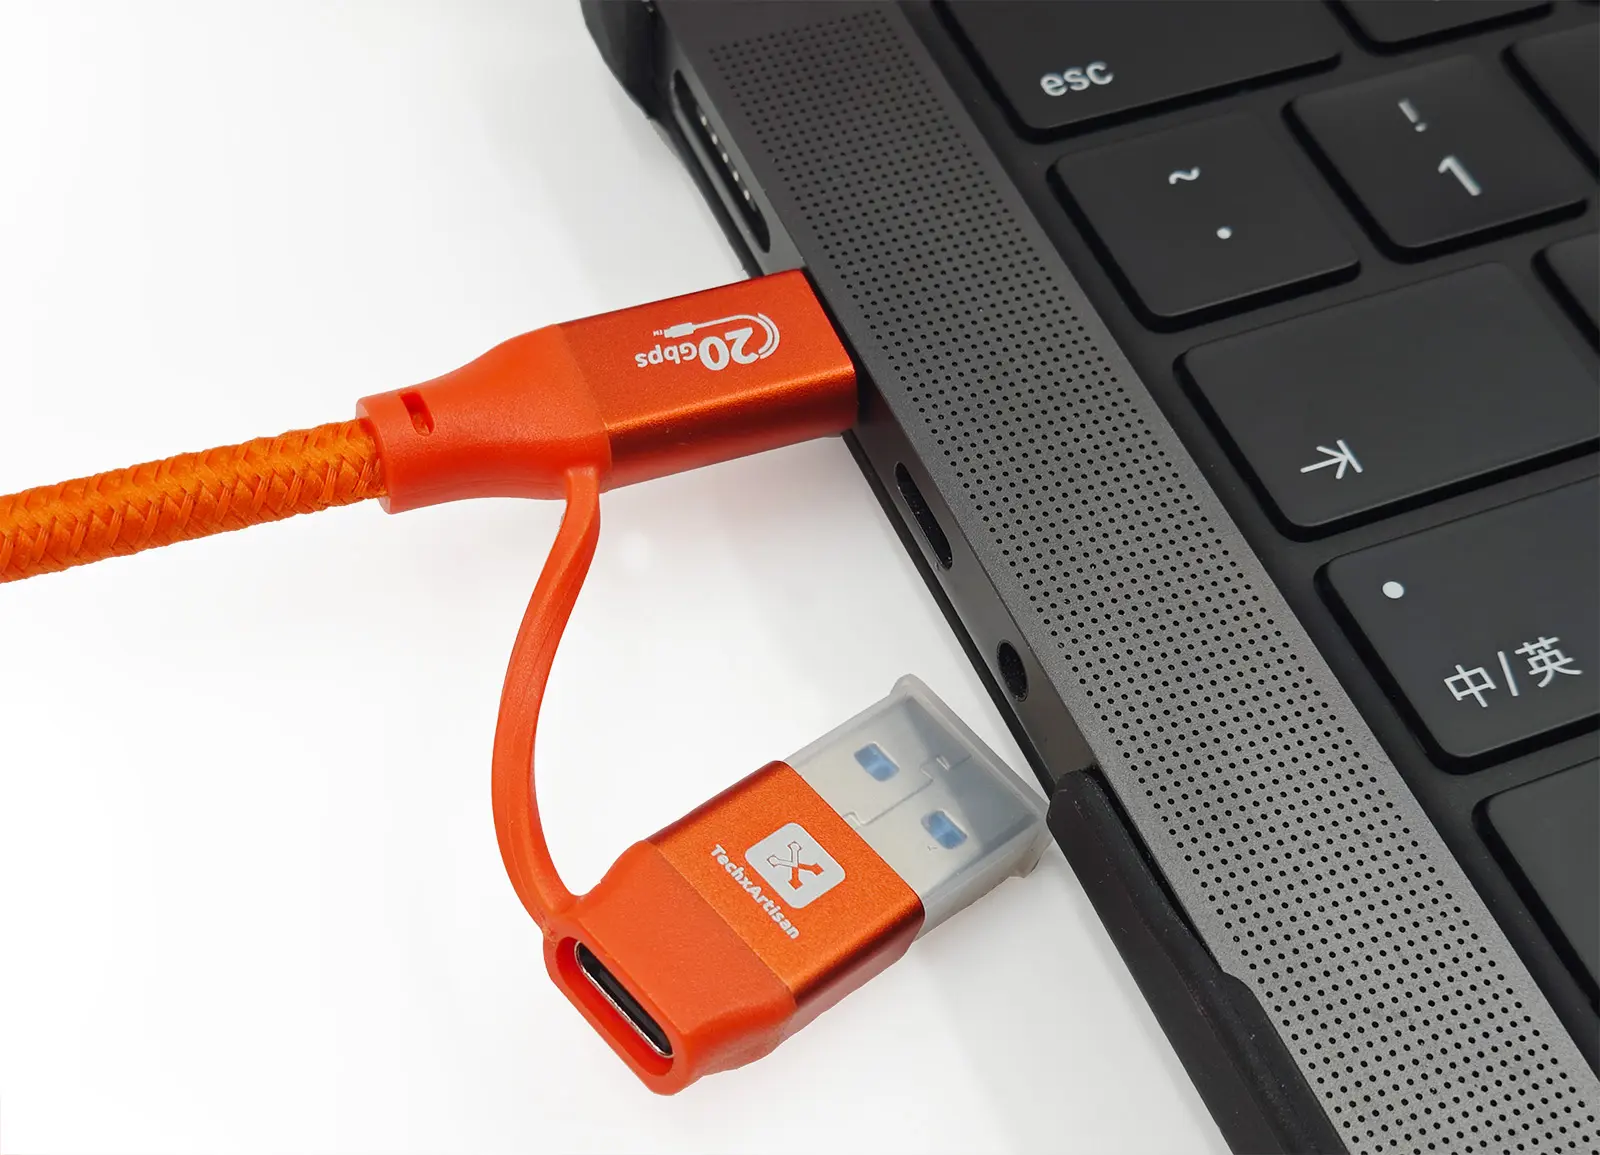
How to Connect | Setup Guide | Openterface KVM-Go
Overview of Connections
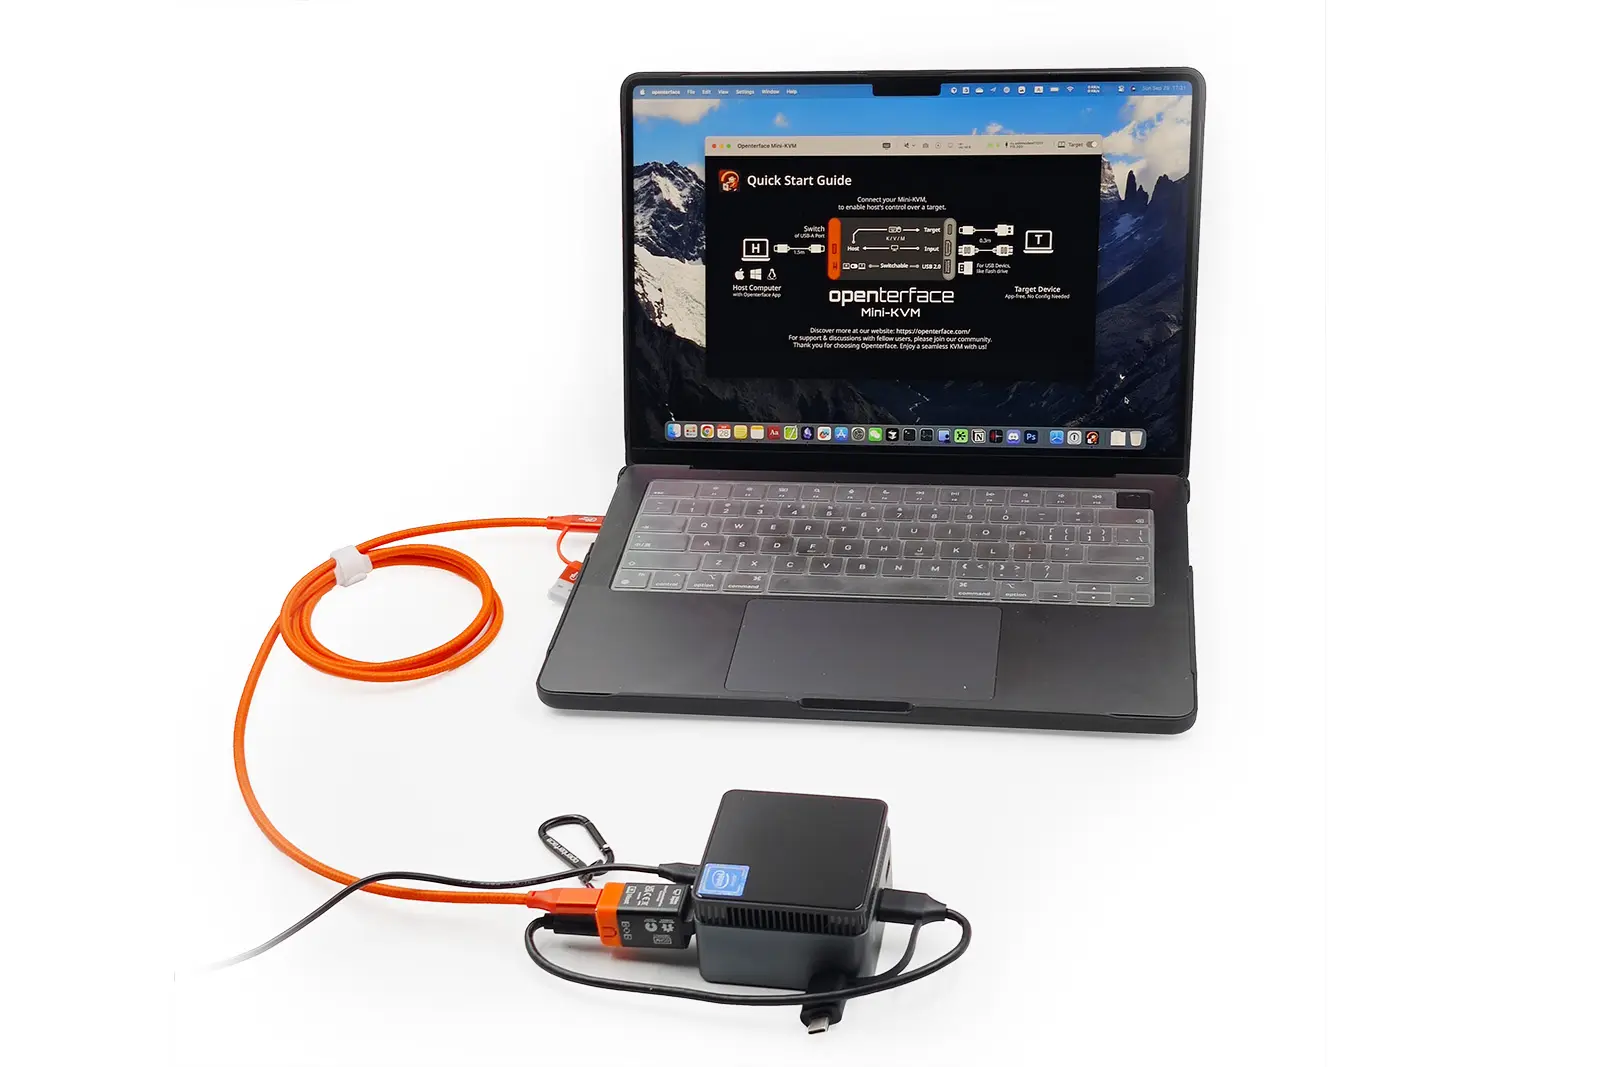
The images above shows all connections between the KVM-Go, host computer, and target device.
- Host Computer: Requires the Openterface App installed.
- Target Device: No software and pre-config needed.
- Video: The built-in connector plugs directly into the target device, so you don’t need to carry or manage extra video cables.
What You Need for Connections
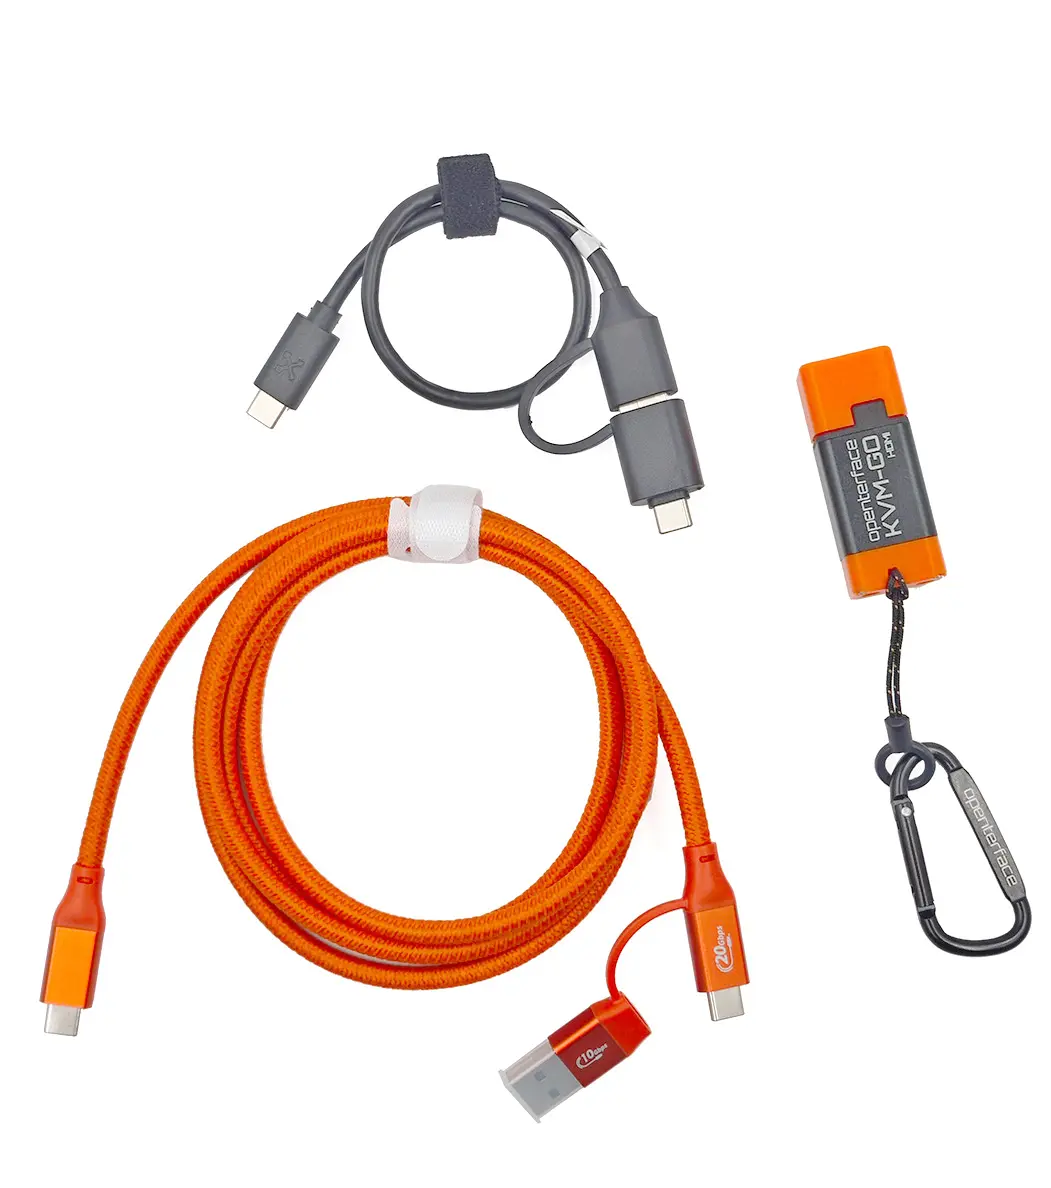
To set up your KVM-Go, you’ll need the following components:
- KVM-Go (HDMI / DP / VGA) – connects to the target device (for video capture)
- Black short USB-C cable – connects to the target device (for keyboard & mouse emulation)
- Orange long USB-C cable – connects to the host computer (running the Openterface App)
Step-by-Step Setup
Step 1 — Connect USB Cables to KVM-Go
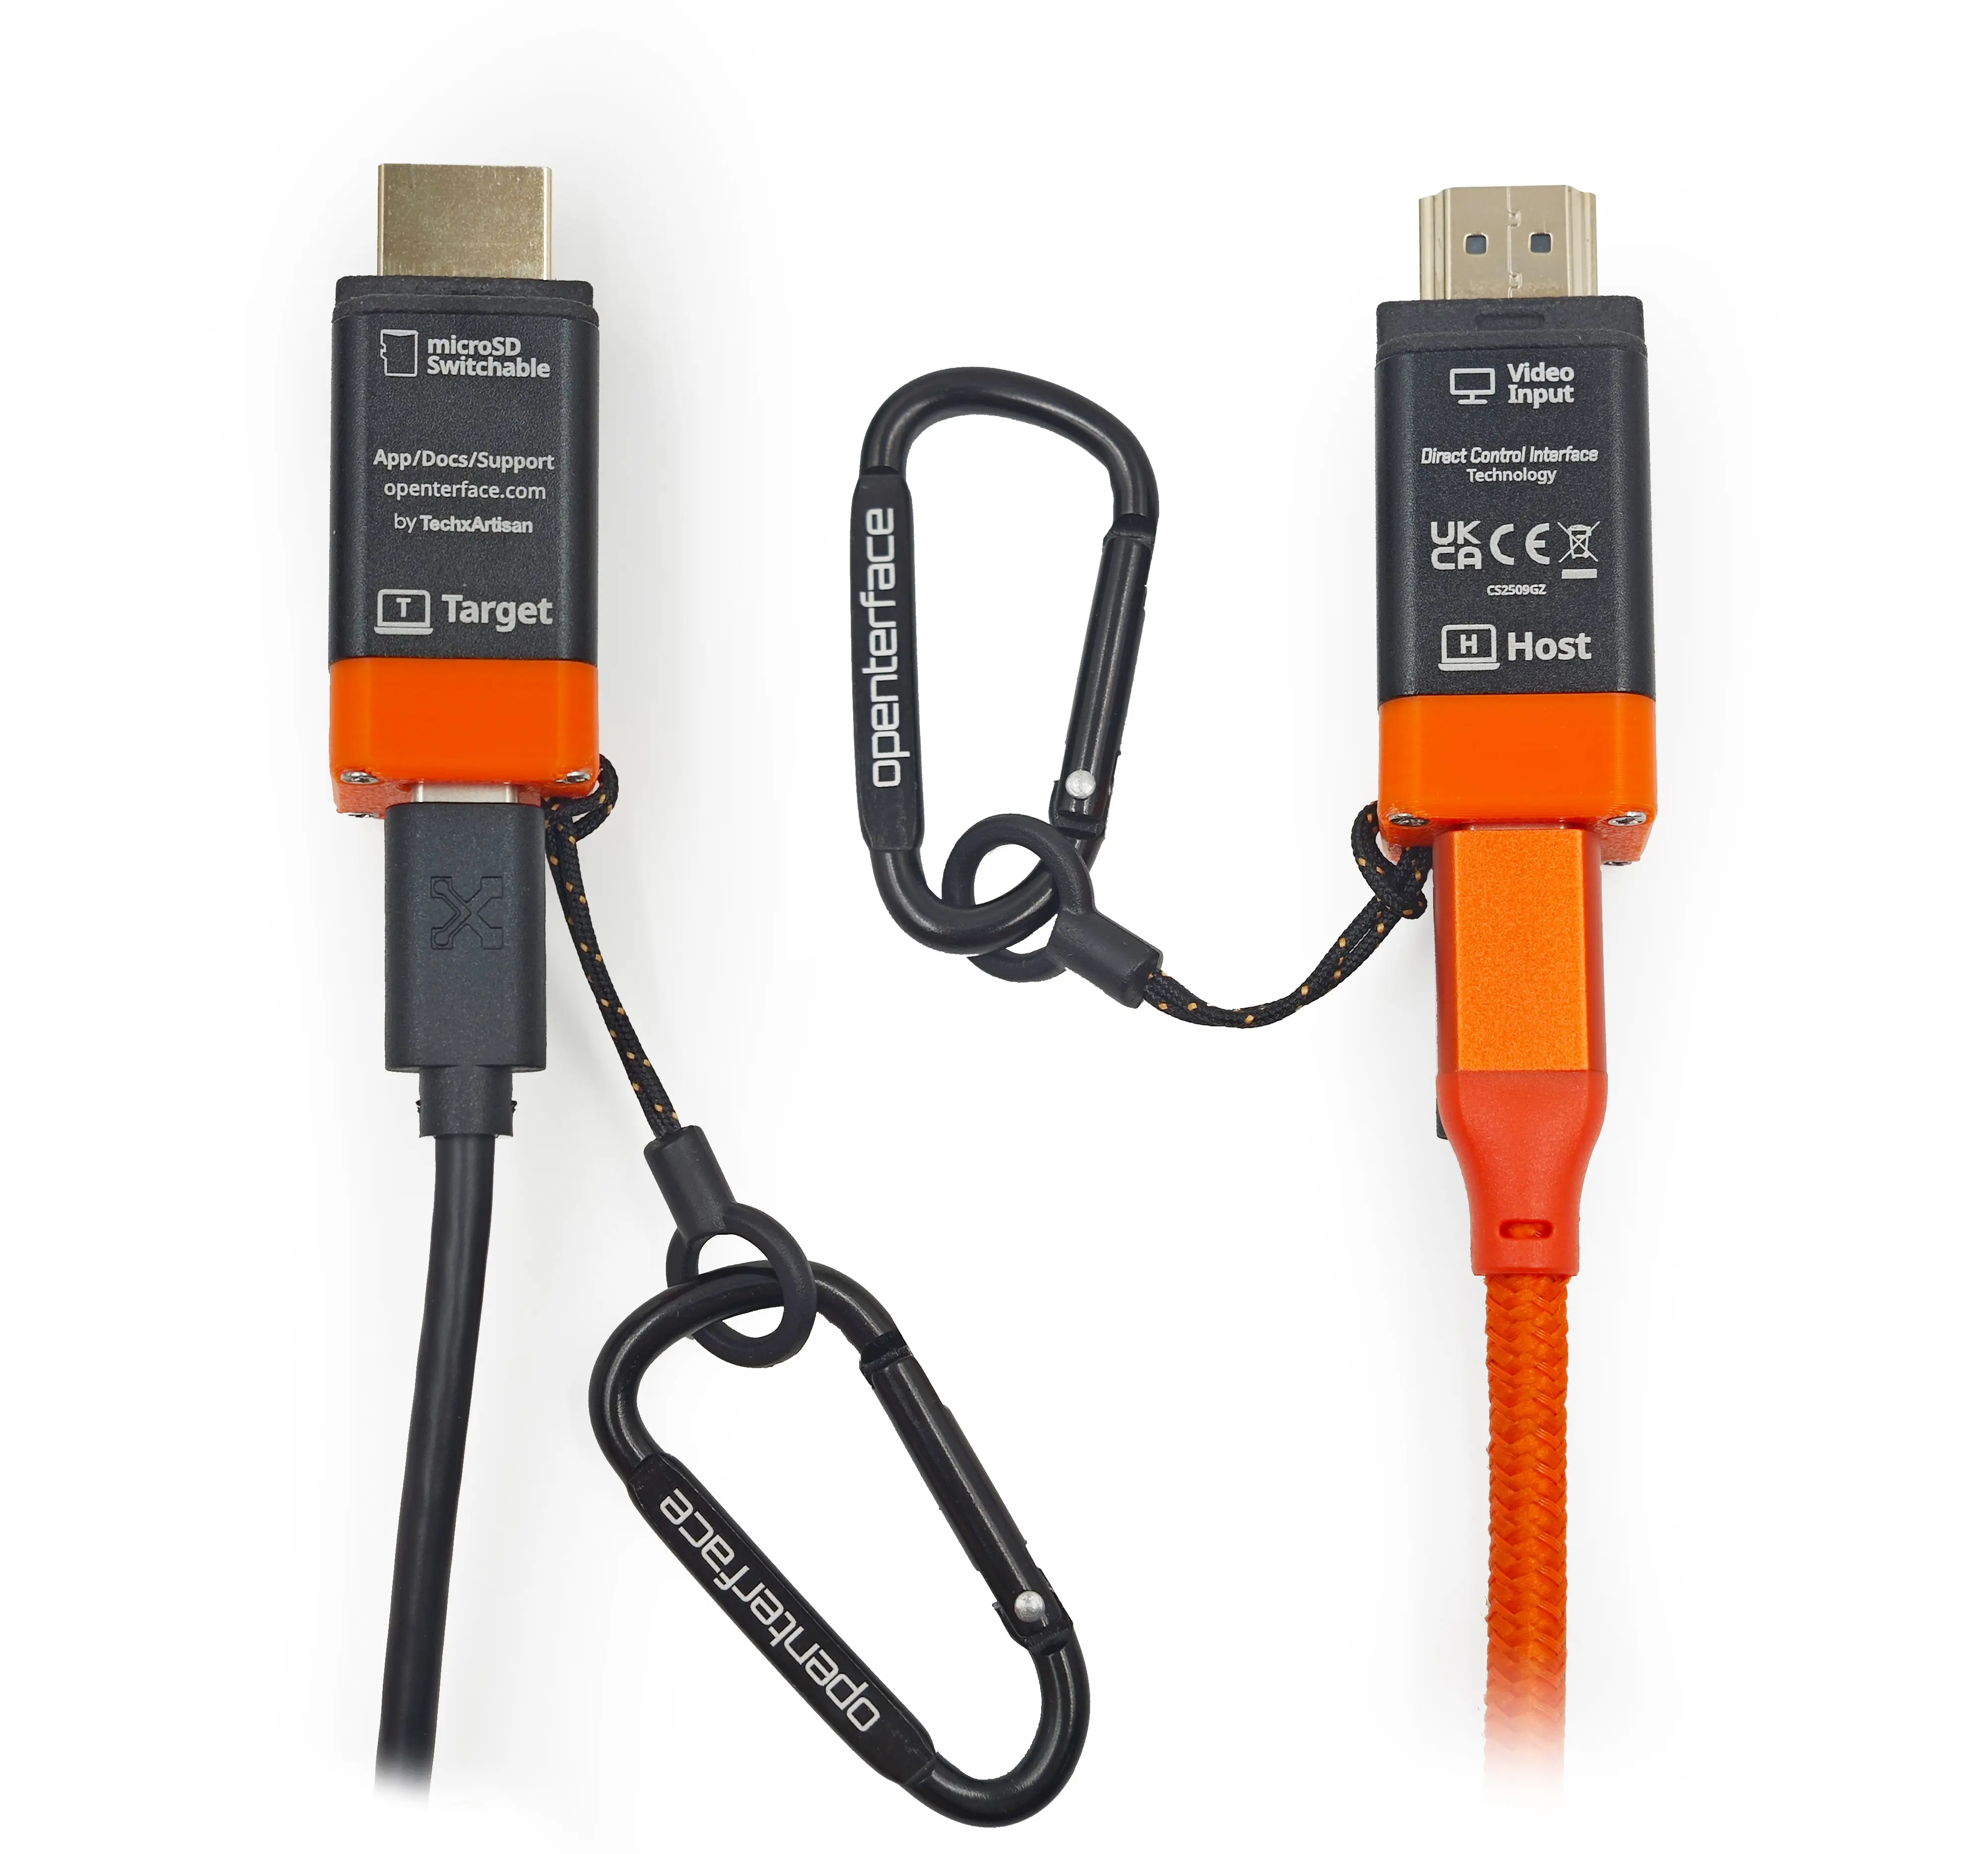
- Black USB-C cable → Plug into the port labeled

 Target on the KVM-Go case.
 - Orange USB-C cable → Plug into the port labeled

 Host.
Host.
Step 2 — Connect Video to Target
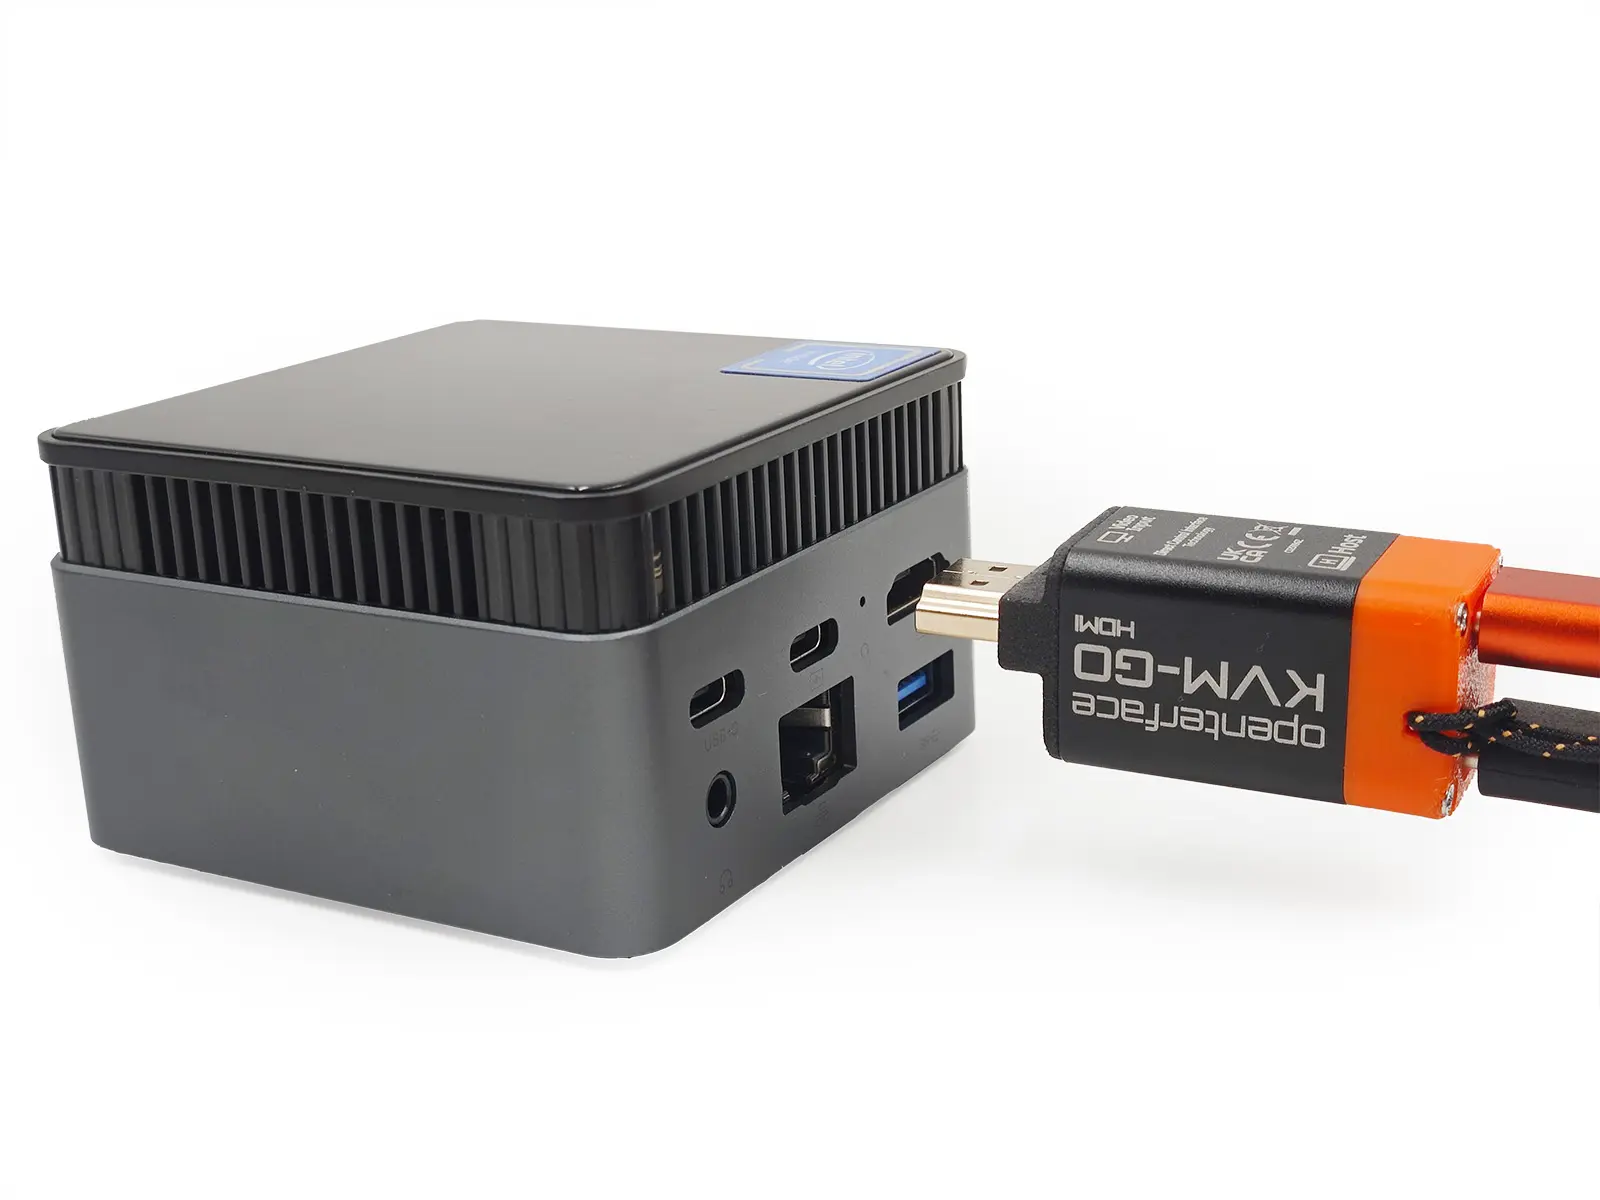
Plug the built-in male video connector directly into the target device’s video output port.
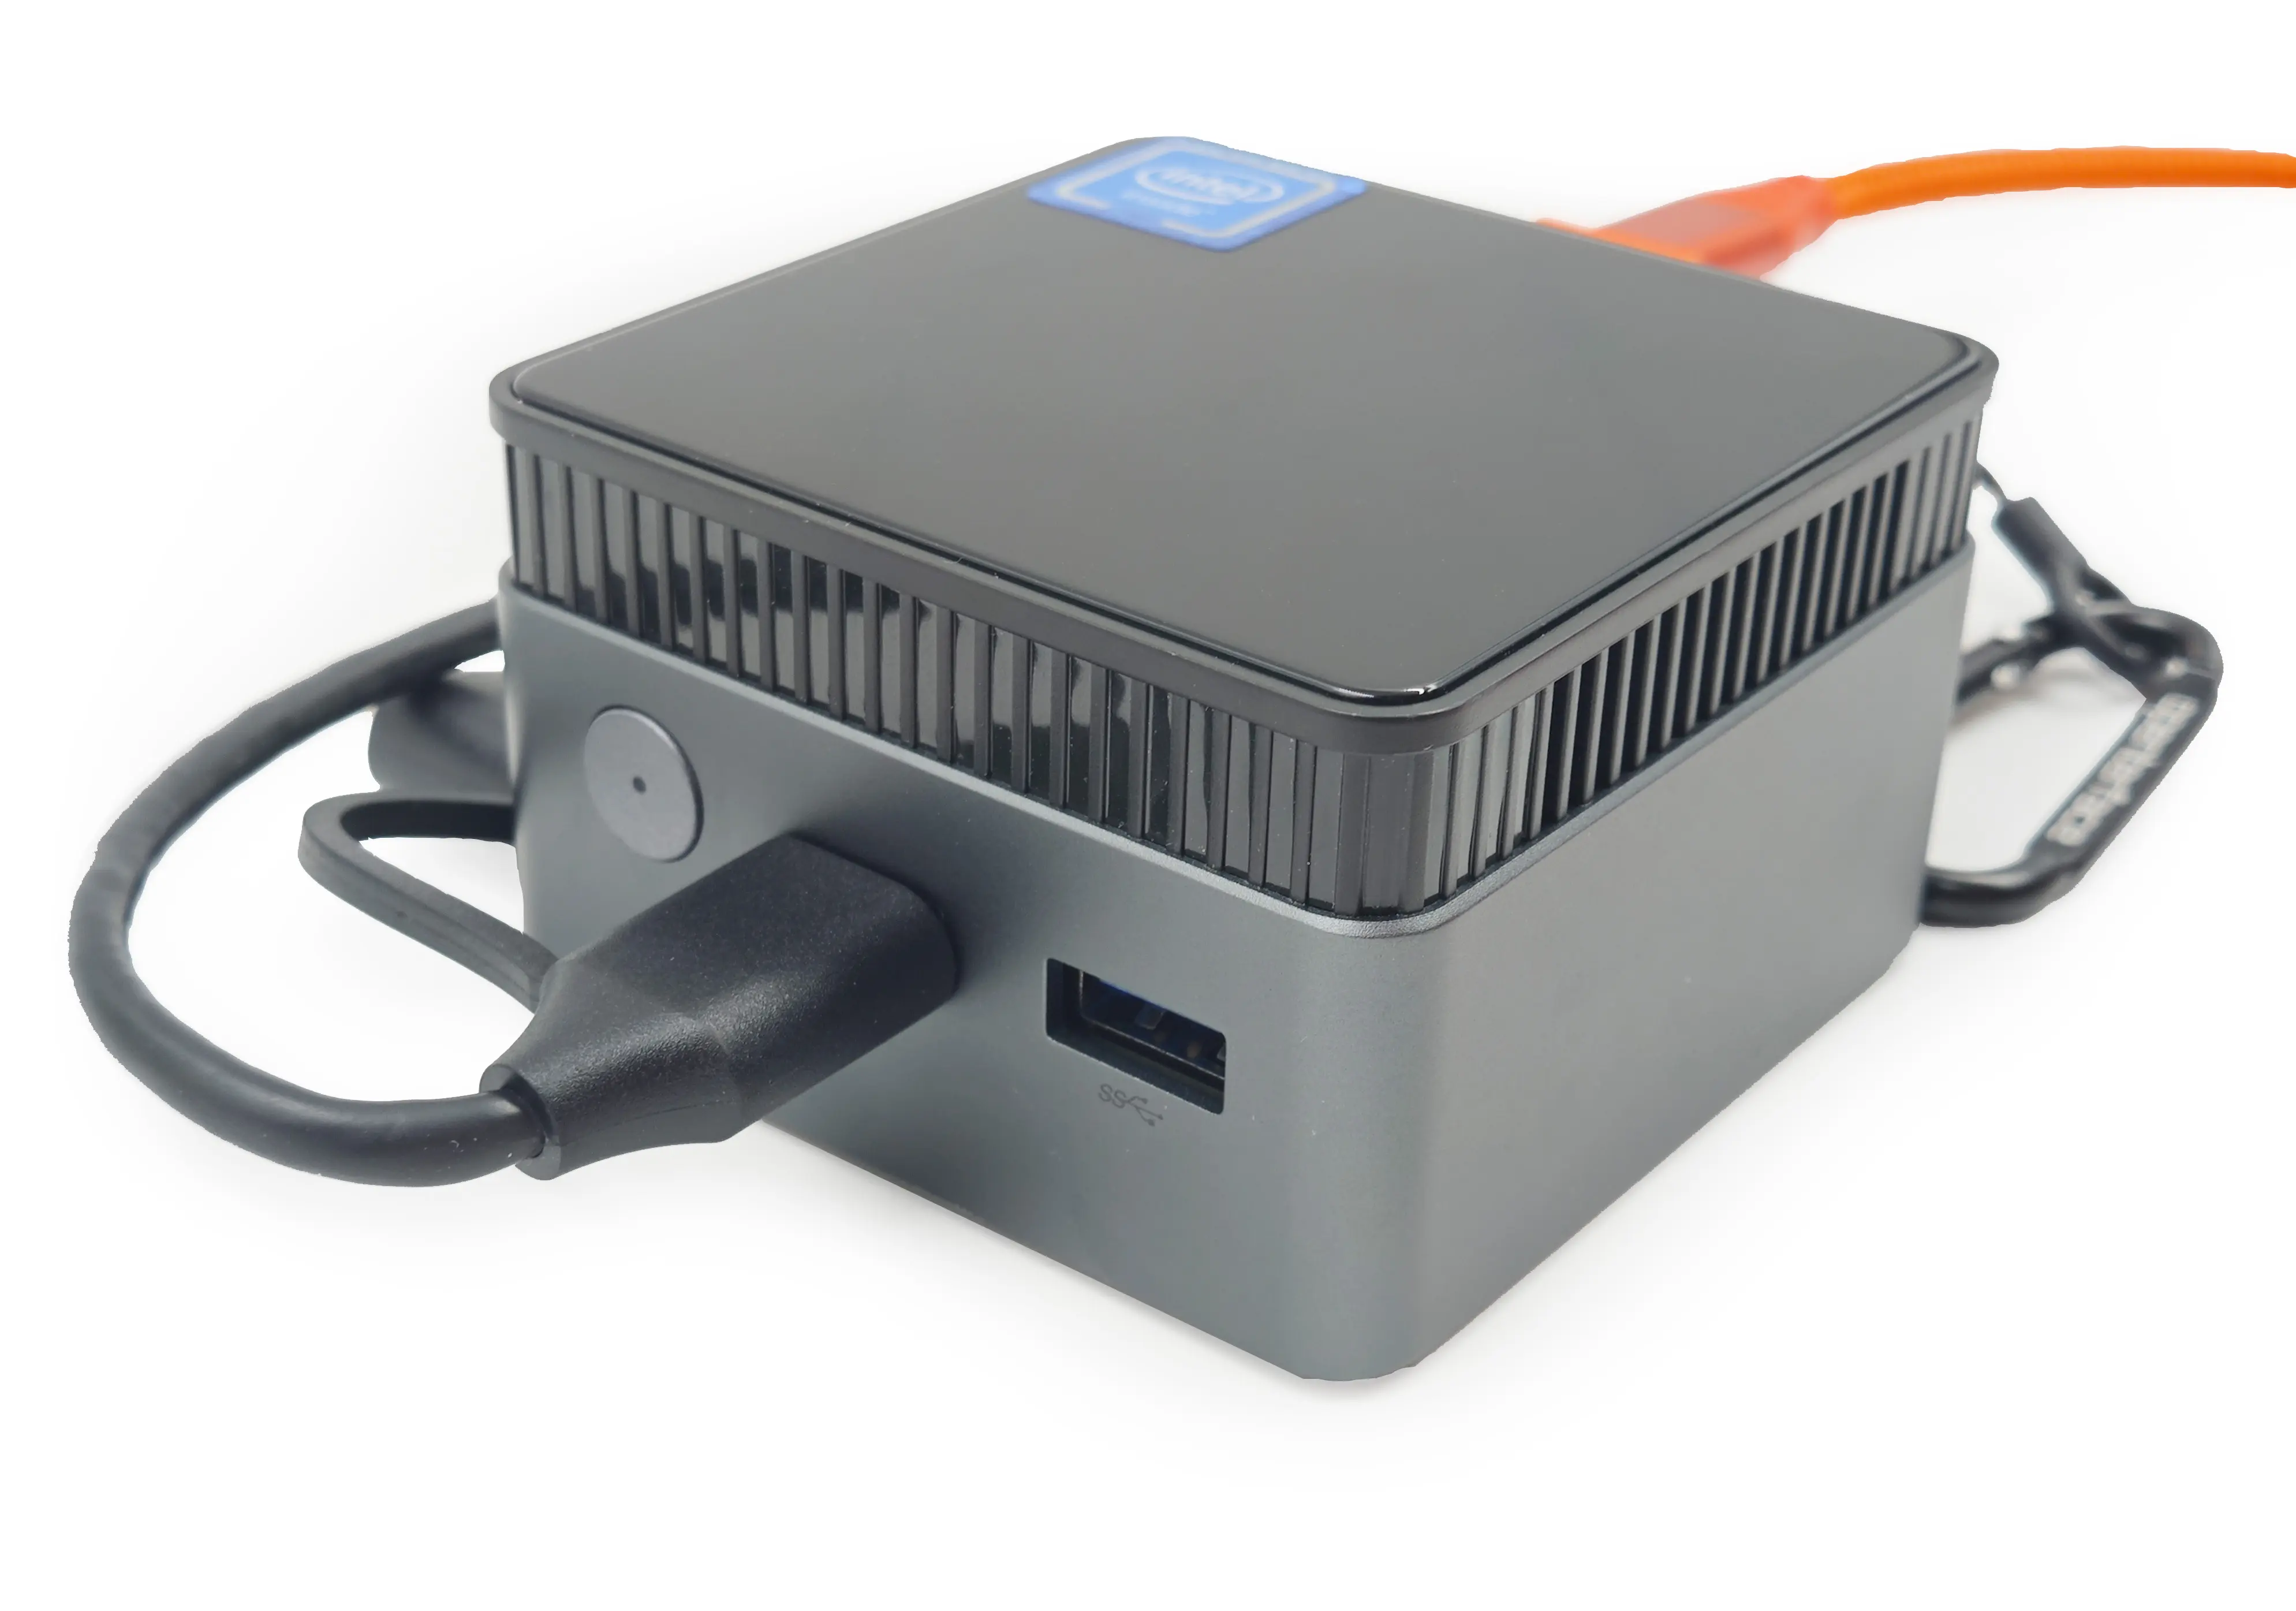
Step 3 — Connect Target USB Port
Connect the black USB cable to the target device for HID control.
Option A: Directly into a USB-A port
Option B: Using a USB-C adapter
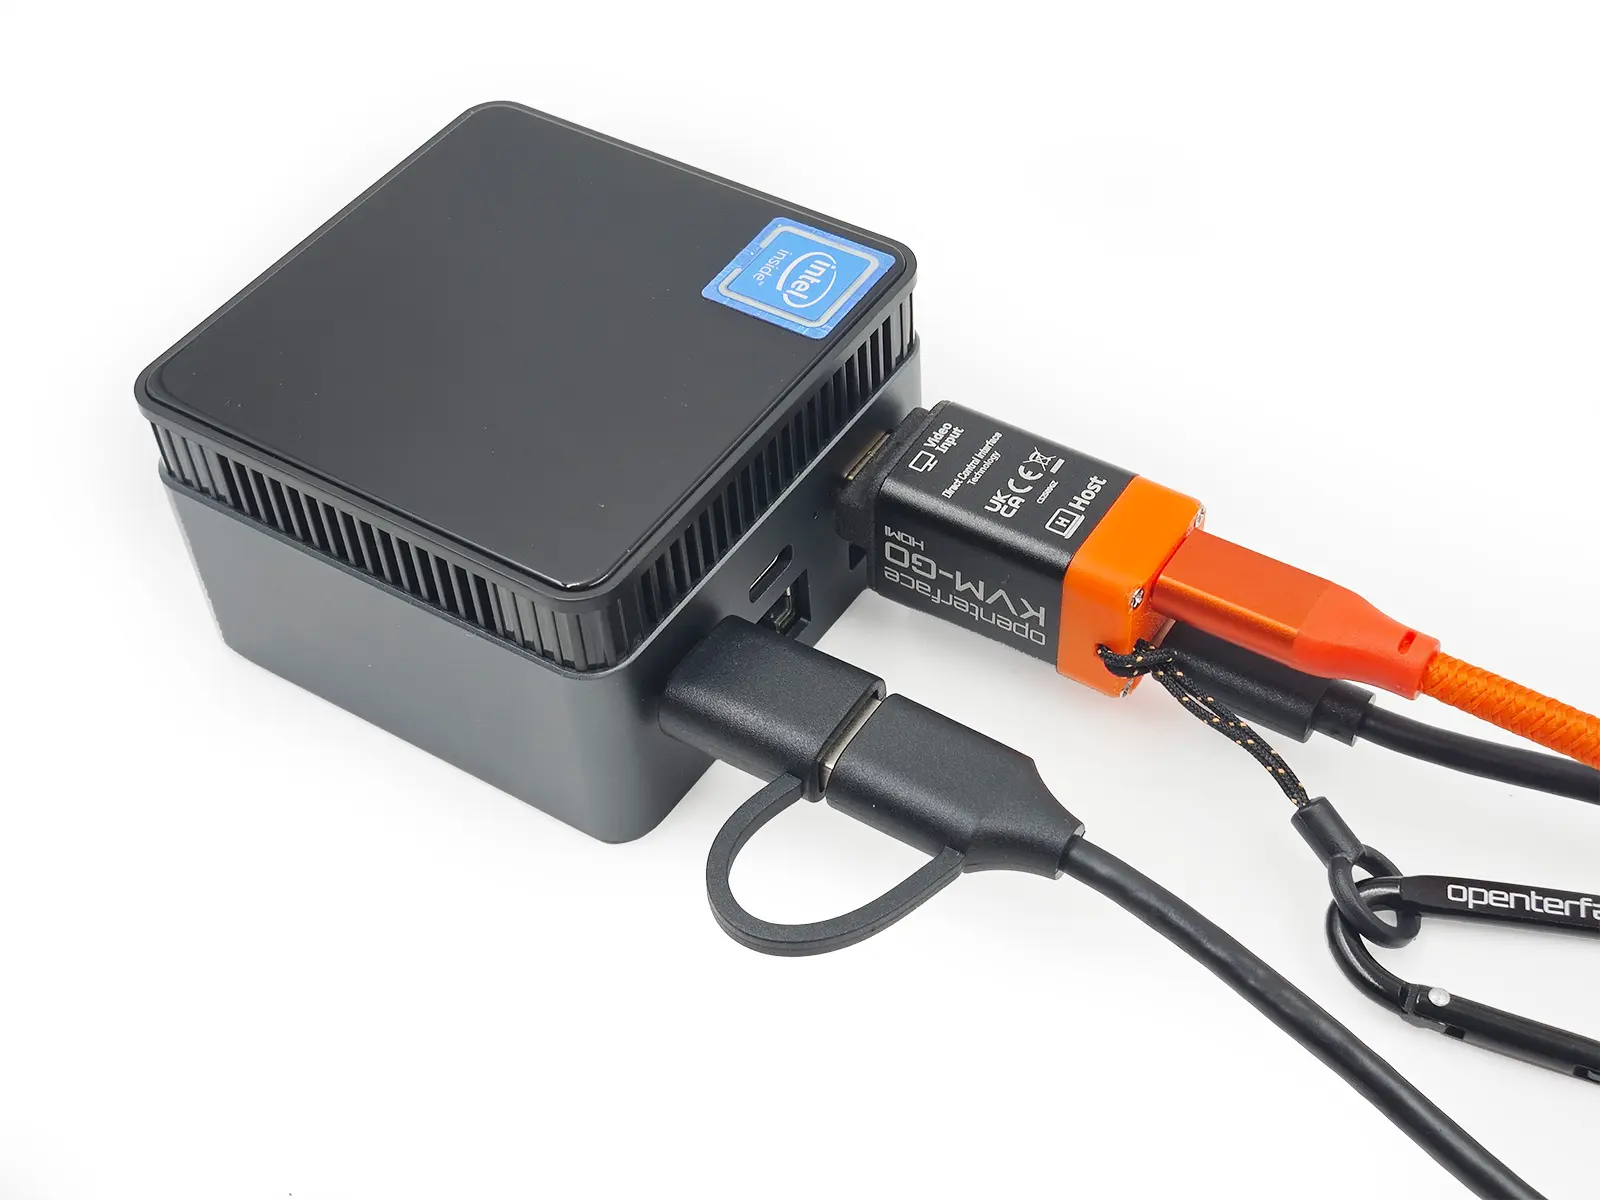
Step 4 — Connect Host USB Port
Connect the orange USB cable to the host computer.
- Directly to a USB-C port OR via a USB-C to USB-A adapter.